Quick Links
The Illuminate, in Helldivers 2, are a serious threat. Their advanced technology and overwhelming numbers make them a tough opponent. While you're battling their light infantry, their elite units will be attacking from both the ground and air. Success hinges on choosing loadouts that exploit their weaknesses while mitigating their strengths.
Effective Illuminate combat requires the right blend of weapons, support gear, and stratagems to handle both their lighter and heavier units. Neglecting either type will render your loadout ineffective.
This guide details optimal loadouts for tackling the Illuminate, regardless of your experience level. Let's prepare to confront them head-on.
The Laser Cannon Loadout: Melting the Illuminate
| Primary | PLAS-1 Scorcher / PLAS-101 Purifier |
|---|---|
| Secondary | GP-31 Grenade Pistol |
| Grenade | G-13 Incendiary Impact |
| Armor Passive | Siege-Ready |
| Stratagems | LAS-98 Laser Cannon (Support) AX/AR-23 "Guard Dog" Eagle Strafing Run A/MG-43 Machine Gun Sentry / Orbital Laser |
The 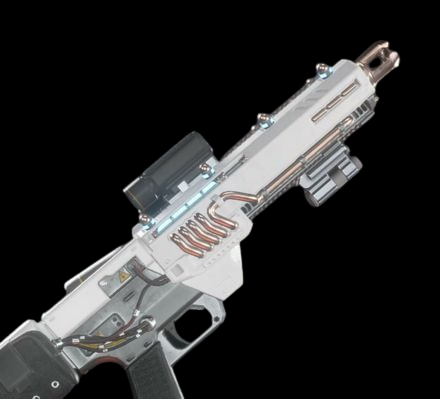 PLAS-101 Purifier and
 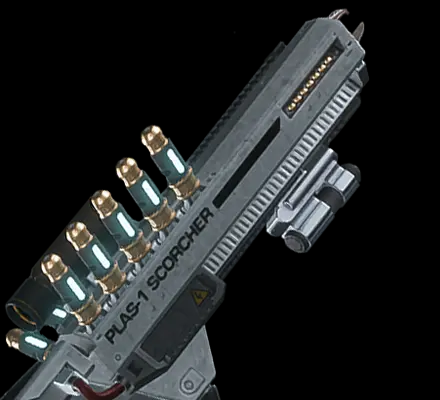 PLAS-1 Scorcher are top-tier primaries in Helldivers 2. They decimate Overseers, including the airborne Elevated units, and are equally effective against the Voteless. The Siege-Ready armor passive provides ample ammo and quick reloads, ensuring you're always ready for multiple targets. The increased DPS is crucial when every shot counts.
The 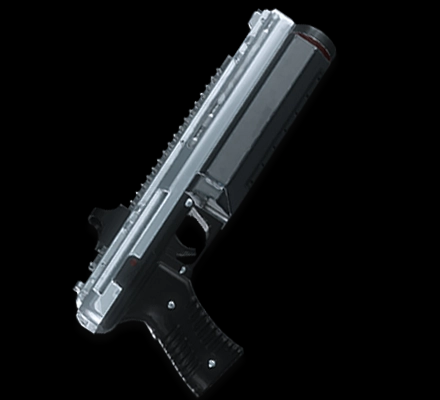 GP-31 Grenade Pistol and
  Eagle Strafing Run make a potent combination for destroying warp ships. Energy weapons struggle against their shields, but a Strafing Run eliminates shields instantly, allowing grenade shots into their open bays for maximum damage. This is particularly effective against larger Illuminate nests. While the
 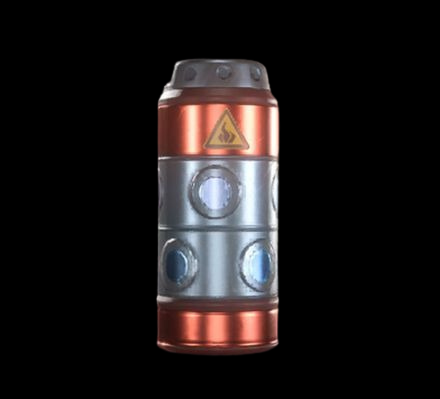 G-13 Incendiary Impact works well against chaff, prioritize the Grenade Pistol for warp ships.
The  AX/AR-23 "Guard Dog" surprisingly excels against medium-armored Overseers. Each burst eliminates a single elite unit, providing excellent flank protection.
The  A/MG-43 Machine Gun Sentry secures areas during objective defense. If crowd control isn't paramount, replace it with an
  Orbital Laser to target Harvesters or future heavy units.
Finally, the  LAS-98 Laser Cannon completes this loadout. It melts Overseers and chaff quickly, and is highly effective against Harvesters (use a Strafing Run to remove shields first, then target weak points). Its long range allows for picking off distant targets. Against multiple Harvesters (on higher difficulty levels), the Orbital Laser is essential.
The Lightning Loadout: Shocking (& Staggering) the Illuminate
| Primary | ARC-12 Blitzer |
|---|---|
| Secondary | GP-31 Grenade Pistol |
| Grenade | G-13 Incendiary Impact |
| Armor Passive | Electrical Conduit / Med-Kit |
| Stratagems | ARC-3 Arc Thrower (Support) Orbital Railcannon Strike / Orbital Laser Eagle Strafing Run A/ARC-3 Tesla Tower |
The Illuminate's mix of melee and ranged units makes the 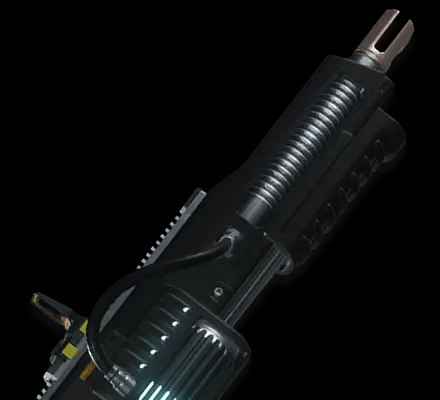 ARC-12 Blitzer and
  ARC-3 Arc Thrower ideal. Both handle chaff effectively, but the Arc Thrower disables Overseers. Its chaining stuns can perma-stun airborne Overseers. The Arc Thrower can also damage unshielded Harvesters.
The  A/ARC-3 Tesla Tower excels against all Illuminate types, particularly flying Overseers, providing consistent crowd control and disruption. Combined with the Arc Thrower, you create a zone of chained lightning attacks. Prioritize targeting priority enemies with the Arc Thrower to protect your Tesla Tower.
Remember, Harvesters prioritize sentries, so conserve your Tesla Tower and other sentry stratagems unless actively engaging them.
The Eagle Strafing Run and Grenade Pistol are crucial for warp ships, as the Blitzer and Arc Thrower are inefficient against their shields. If you lack a teammate to handle this, consider alternative stratagems.
For heavy units, the  Orbital Railcannon Strike is excellent due to its unlimited uses. The Orbital Laser is effective against multiple Harvesters, but its limited uses necessitate relying on teammates eventually. Remember to use a Strafing Run to disable their shields first. This build is exceptionally powerful, especially with team coordination.
The Machine Gun Loadout: Shredding the Illuminate

| Primary | StA-52 Assault Rifle |
|---|---|
| Secondary | GP-31 Grenade Pistol / CQC-19 Stun Lance |
| Grenade | G-13 Incendiary Impact |
| Armor Passive | Peak Physique / Engineering Kit |
| Stratagems | MG-43 Machine Gun (Support) LIFT-850 Jump Pack Orbital Railcannon Strike / Orbital Laser A/MG-43 Machine Gun Sentry / A/G-16 Gatling Sentry |
The  MG-43 Machine Gun is incredibly versatile against the Illuminate. It shreds light and medium units, and is effective against Harvesters. Compared to the MG-206, its better handling and faster infantry elimination make it superior.
Its balance of power and reliability makes it a true jack-of-all-trades. Pair it with the Engineering Kit to reduce recoil or Peak Physique to reduce drag for easier targeting of airborne units. Its high fire rate effectively depletes shields, negating the need for the Eagle Strafing Run against warp ships. Choose either turret sentry to manage crowds or defend objectives.
Its only drawback is the stationary reload animation. The  LIFT-850 Jump Pack allows for quick repositioning and easier navigation.
While the Machine Gun handles Harvesters well (target weak points), an Orbital stratagem is useful for multiple heavy units. The Orbital Laser handles two to three shielded Harvesters, while the Railcannon Strike is effective only against unshielded targets.
For the primary weapon, the StA-52 Assault Rifle (from the Killzone 2 crossover) provides sustained fire with its large magazine, offering similar damage to the Liberator.