Quick Links
Fortnite OG throws players back to the very beginning of Battle Royale, recreating the Chapter 1, Season 1 experience. This nostalgic mode features the original map and loot pool, making it crucial to understand the available weapons and items for a successful, retro-style victory. The Fortnite OG loot pool is dynamic, with the weapon meta shifting as the game progresses through seasons and new returning weapons are introduced.
All Fortnite OG Assault Rifles
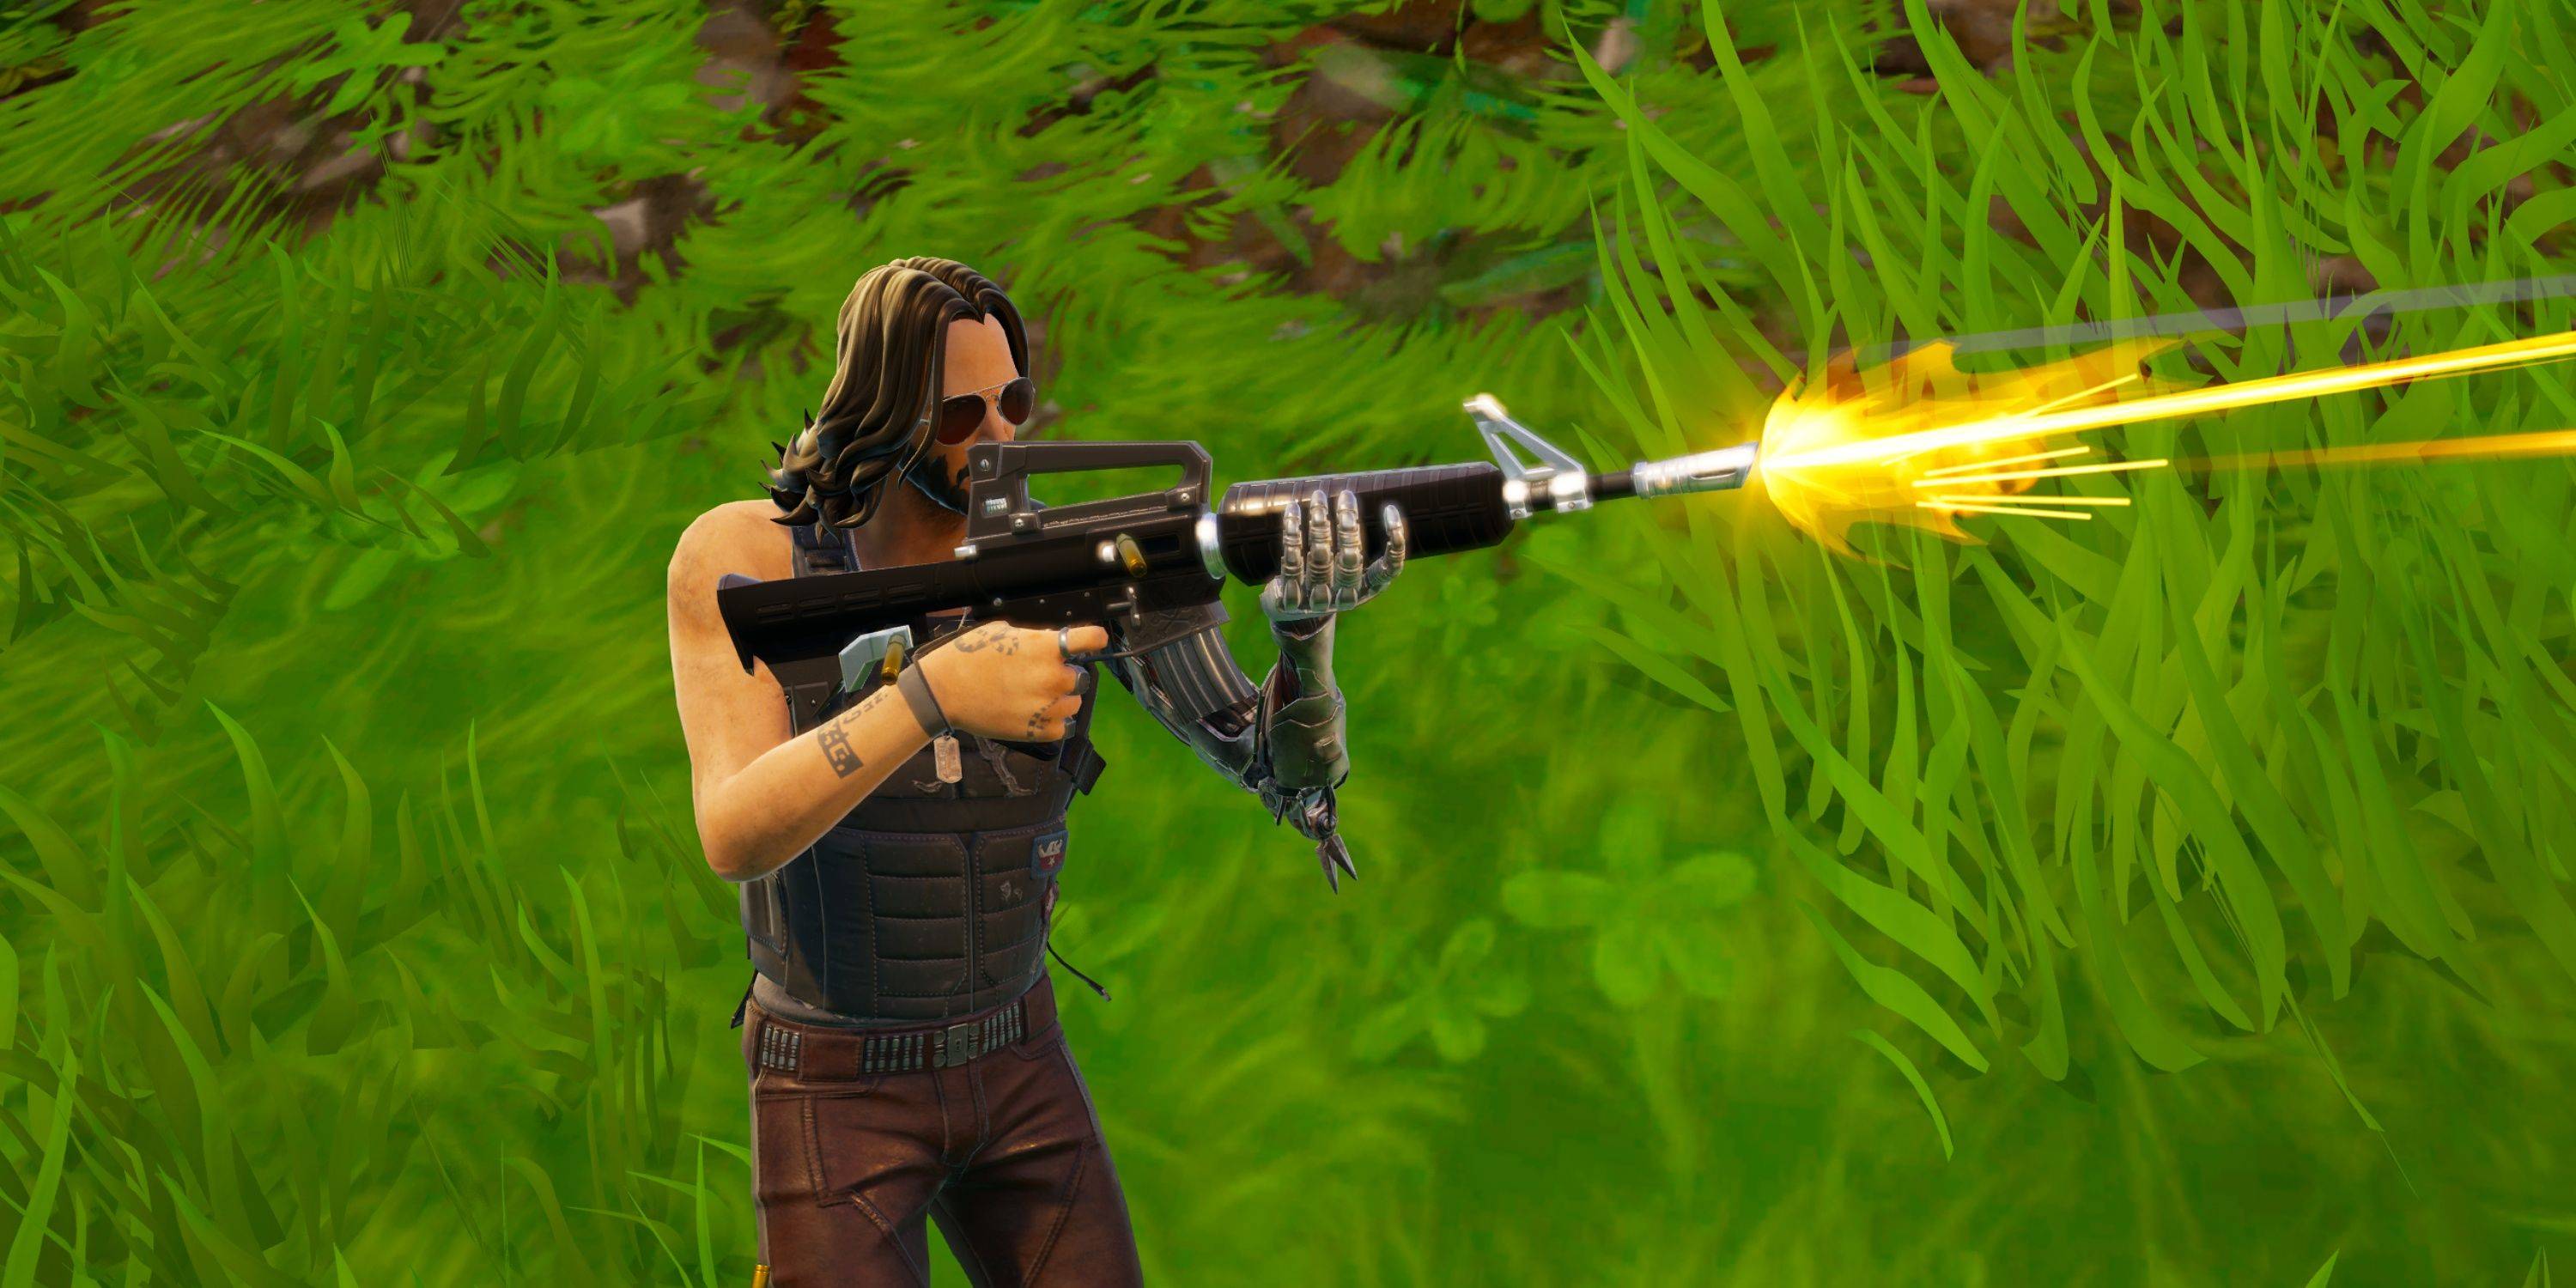 The return of hitscan weapons makes Assault Rifles potent in Fortnite OG. However, inconsistent bloom on some weapons can be problematic. The standard Assault Rifle is generally the most reliable, especially considering the Scoped Assault Rifle's inaccurate scope.
Assault Rifle
| Rarity | Common | Uncommon | Rare | Epic | Legendary |
|---|---|---|---|---|---|
| Damage | 30 | 31 | 33 | 35 | 36 |
| Magazine Size | 30 | 30 | 30 | 30 | 30 |
| Fire Rate | 5.5 | 5.5 | 5.5 | 5.5 | 5.5 |
| Reload Time | 2.75s | 2.625s | 2.5s | 2.375s | 2.25s |
| Structure Damage | 30 | 31 | 33 | 35 | 36 |
The Assault Rifle's predictable bloom, manageable magazine size, and solid damage make it a top choice. Its reliability at various ranges makes it a staple for any player, particularly the rarer, more powerful variants.
Burst Assault Rifle
| Rarity | Common | Uncommon | Rare | Epic | Legendary |
|---|---|---|---|---|---|
| Damage | 27 | 29 | 30 | 36 | 37 |
| Magazine Size | 30 | 30 | 30 | 30 | 30 |
| Fire Rate | 4.06 | 4.06 | 4.06 | 3.69 | 3.69 |
| Reload Time | 2.75s | 2.62s | 2.5s | 2.38s | 2.25s |
| Structure Damage | 27 | 29 | 34 | 36 | 37 |
The Burst Assault Rifle's three-round burst and high bloom make it less reliable than other options. Its inconsistent nature can easily punish missed shots.
Scoped Assault Rifle
| Rarity | Rare | Epic | Legendary |
|---|---|---|---|
| Damage | 23 | 24 | 37 |
| Magazine Size | 20 | 20 | 20 |
| Fire Rate | 3.5 | 3.5 | 3.5 |
| Reload Time | 2.3s | 2.2s | 2.07s |
| Structure Damage | 23 | 24 | 37 |
Alongside the Sniper Rifles, the Scoped Assault Rifle offers first-person aiming. However, its bullet trajectory deviates from the reticle, making it challenging to use effectively.
All Fortnite OG Shotguns
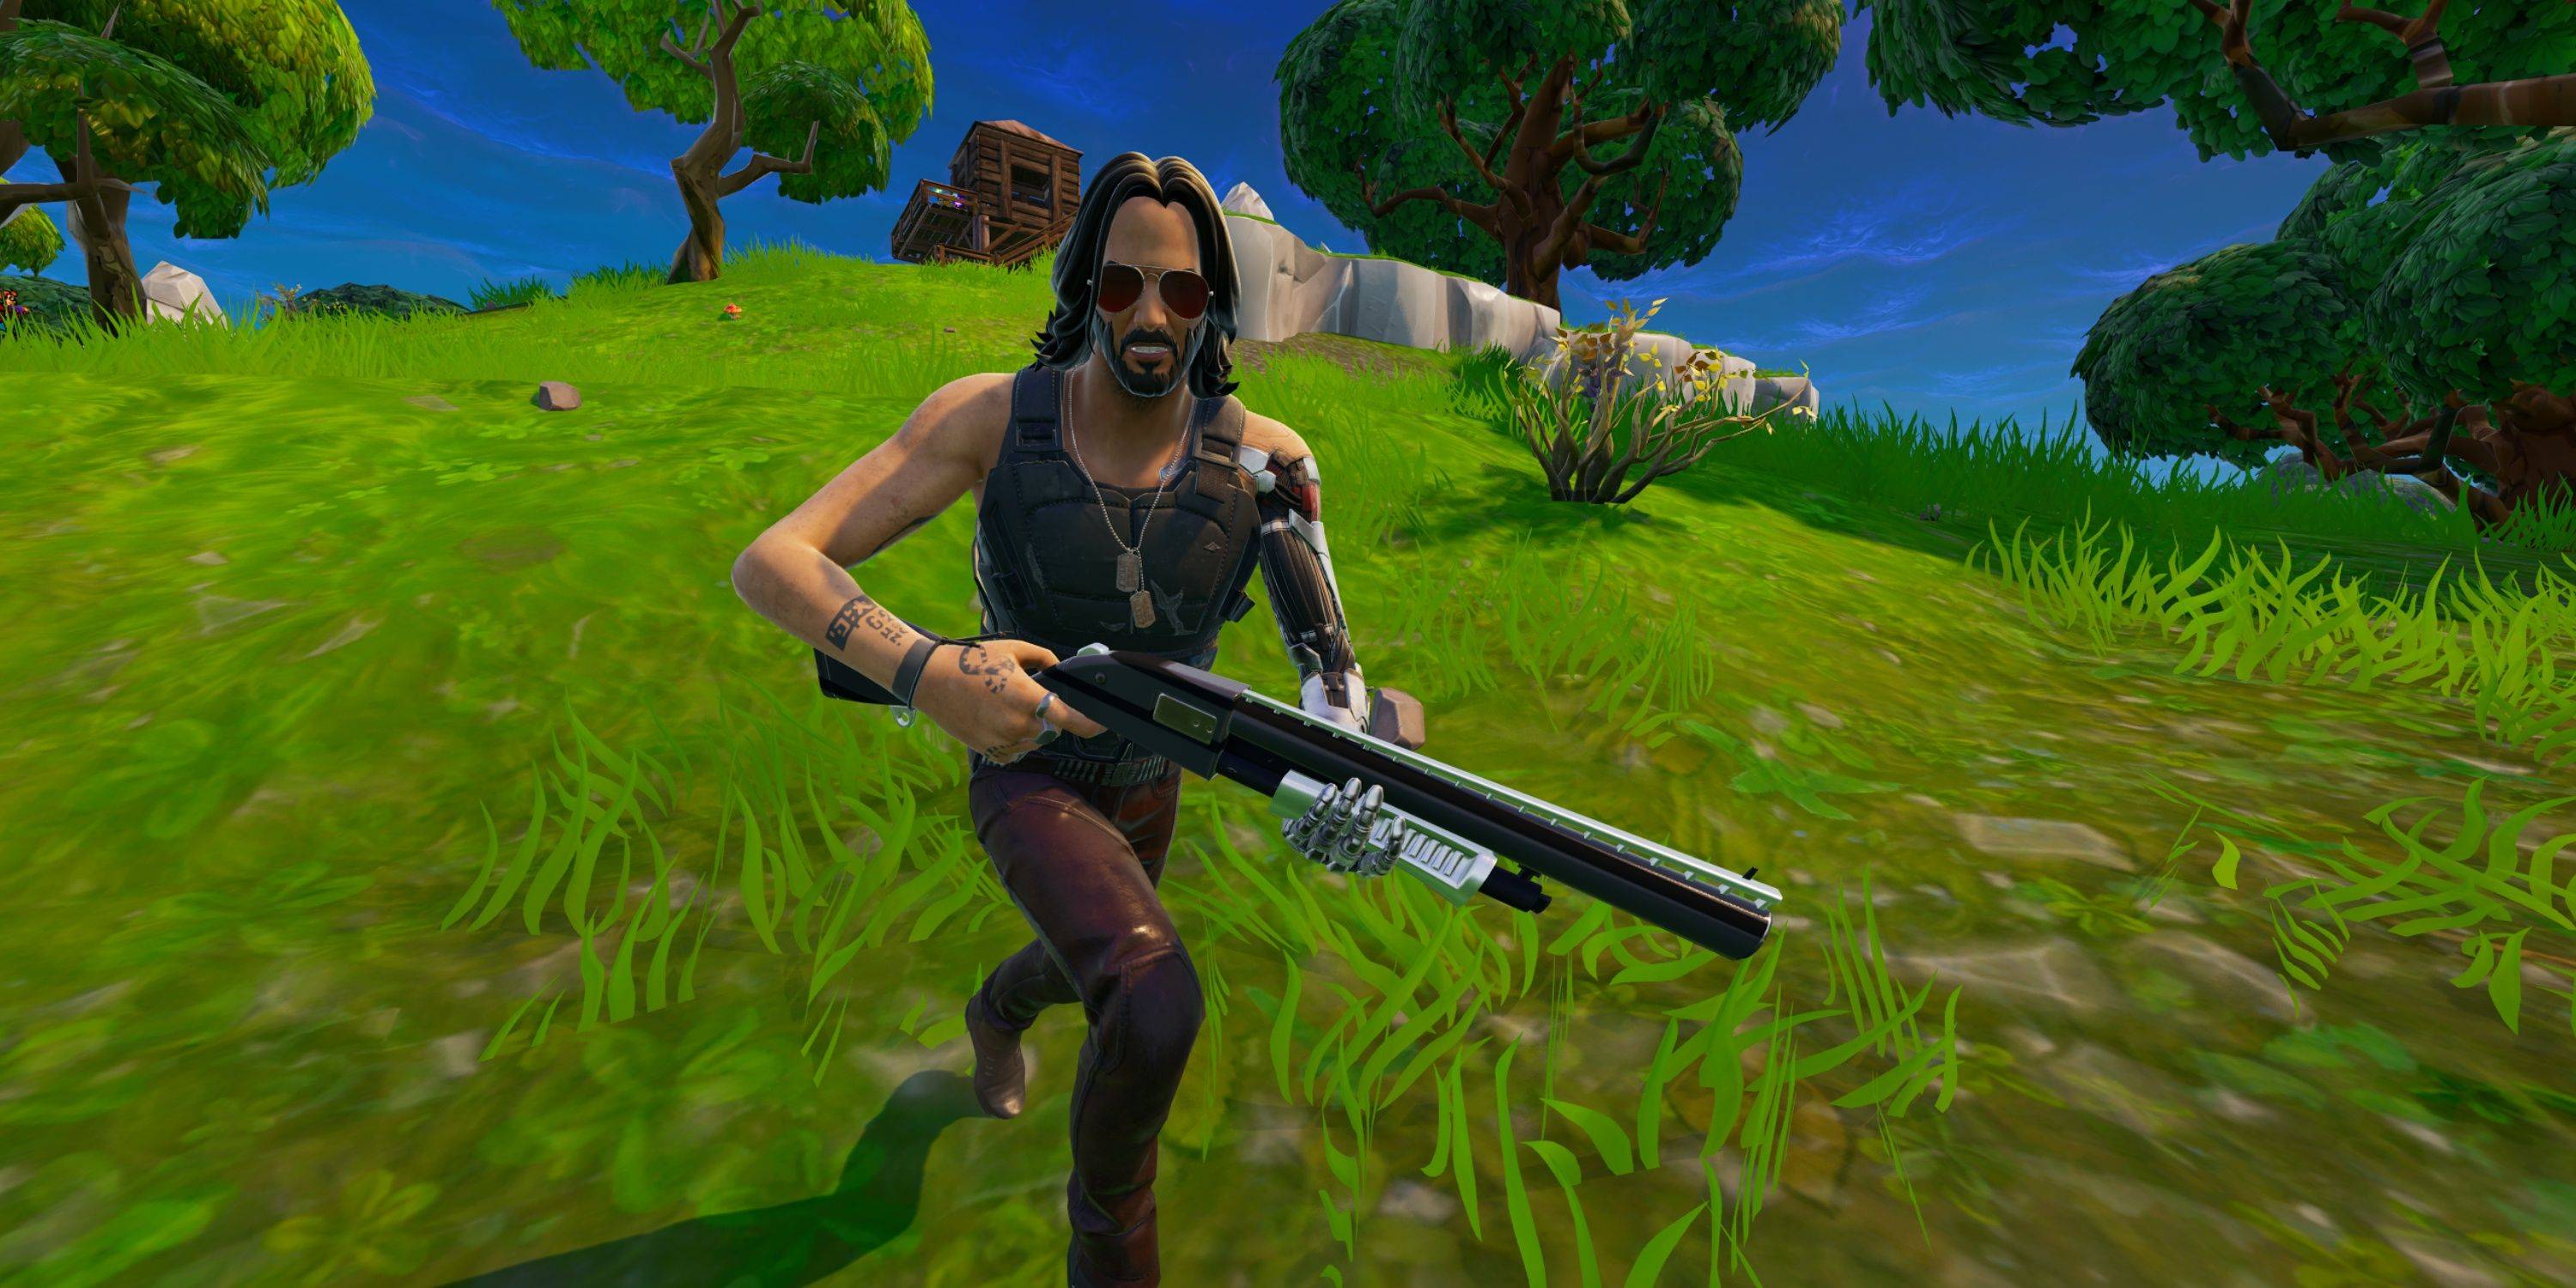 Shotguns dominate close-quarters combat in Fortnite Chapter 1 Season 1. Their high damage and fast fire rate, combined with the "Double Pump" technique, provide a significant advantage.
Pump Shotgun
| Rarity | Common | Uncommon | Rare | Epic | Legendary |
|---|---|---|---|---|---|
| Damage | 90 | 95 | 110 | 119 | 128 |
| Magazine Size | 5 | 5 | 5 | 5 | 5 |
| Fire Rate | 0.7 | 0.7 | 0.7 | 0.7 | 0.7 |
| Reload Time | 4.8s | 4.6s | 4.4s | 4.2s | 4s |
| Structure Damage | 90 | 95 | 110 | 119 | 128 |
The Pump Shotgun's 2.5x headshot multiplier and the Double Pump strategy make it incredibly lethal. Rapidly switching between two Pump Shotguns minimizes reload downtime.
Tactical Shotgun
| Rarity | Common | Uncommon | Rare |
|---|---|---|---|
| Damage | 67 | 70 | 74 |
| Magazine Size | 8 | 8 | 8 |
| Fire Rate | 1.5 | 1.5 | 1.5 |
| Reload Time | 6.3s | 6s | 5.7s |
| Structure Damage | 67 | 70 | 74 |
The Tactical Shotgun's higher fire rate and 2.5x headshot multiplier offer a safer, more consistent alternative to the Pump Shotgun.
All Fortnite OG Pistols
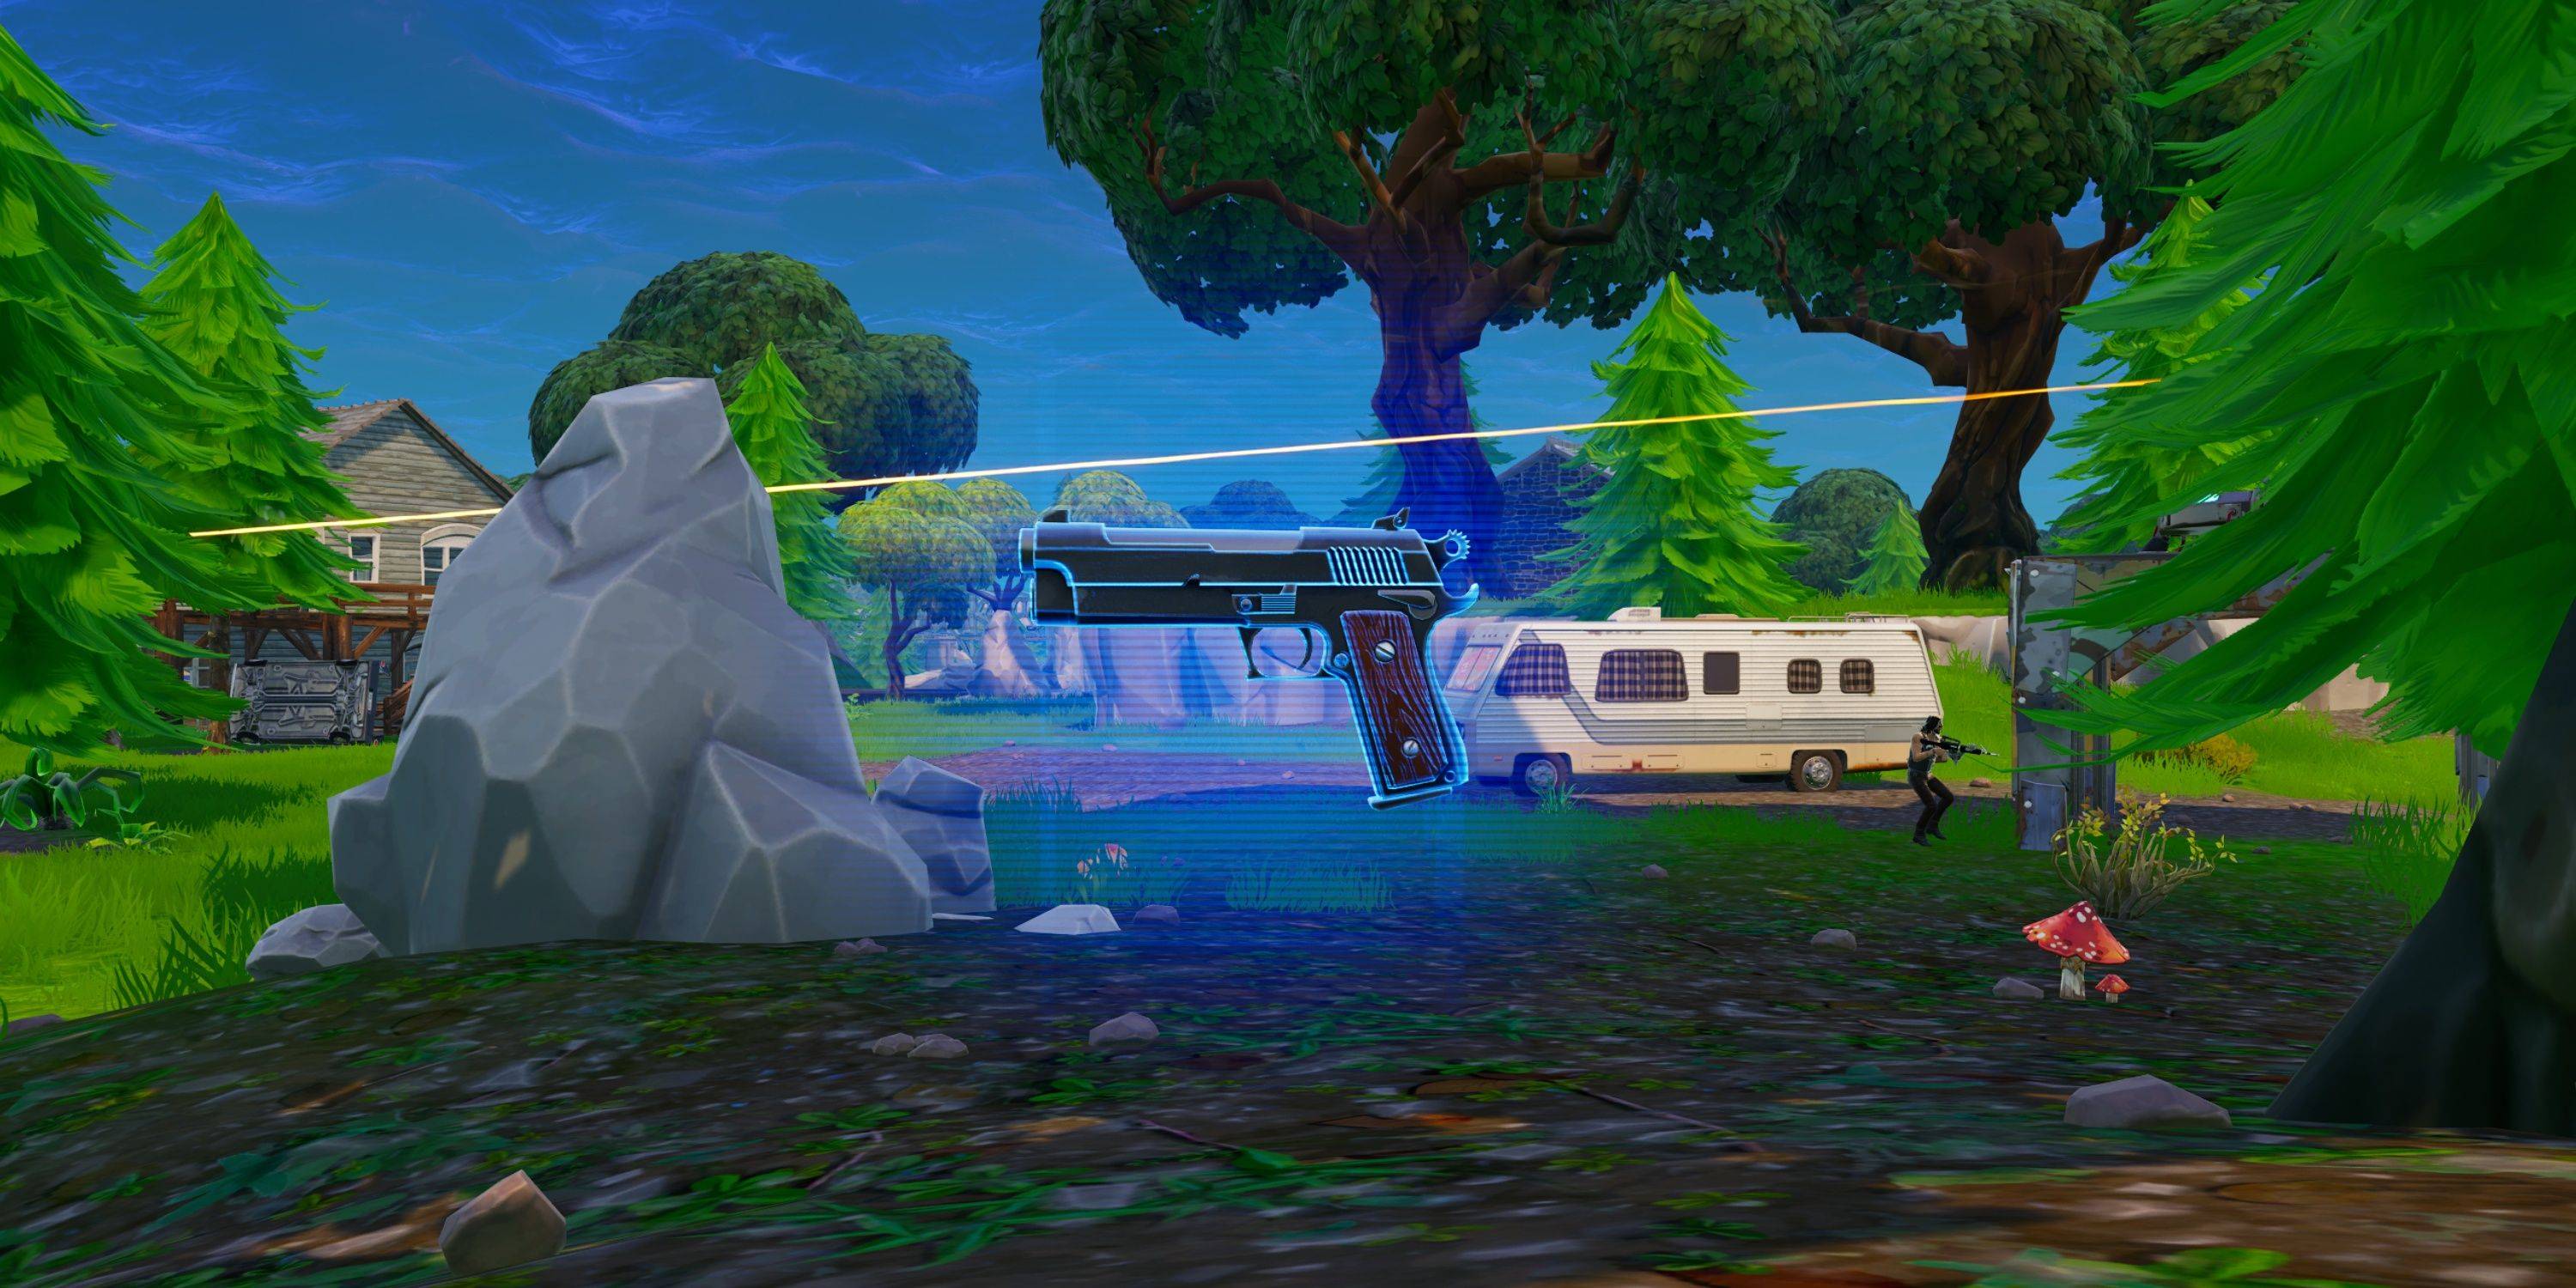 Pistols are useful early-game weapons but generally less effective in the late game.
Semi-Auto Pistol
| Rarity | Common | Uncommon | Rare |
|---|---|---|---|
| Damage | 24 | 25 | 26 |
| Magazine Size | 16 | 16 | 16 |
| Fire Rate | 6.8 | 6.8 | 6.8 |
| Reload Time | 1.5s | 1.47s | 1.4s |
| Structure Damage | 24 | 25 | 26 |
The common Semi-Auto Pistol offers a fast fire rate but suffers from significant damage drop-off at range.
Revolver
| Rarity | Common | Uncommon | Rare | Epic | Legendary |
|---|---|---|---|---|---|
| Damage | 54 | 57 | 60 | 63 | 66 |
| Magazine Size | 6 | 6 | 6 | 6 | 6 |
| Fire Rate | 0.9 | 0.9 | 0.9 | 0.9 | 0.9 |
| Reload Time | 2.2s | 2.1s | 2s | 1.9s | 1.8s |
| Structure Damage | 54 | 57 | 60 | 63 | 66 |
The Revolver delivers higher damage but has significant recoil, impacting accuracy.
All Fortnite OG SMGs
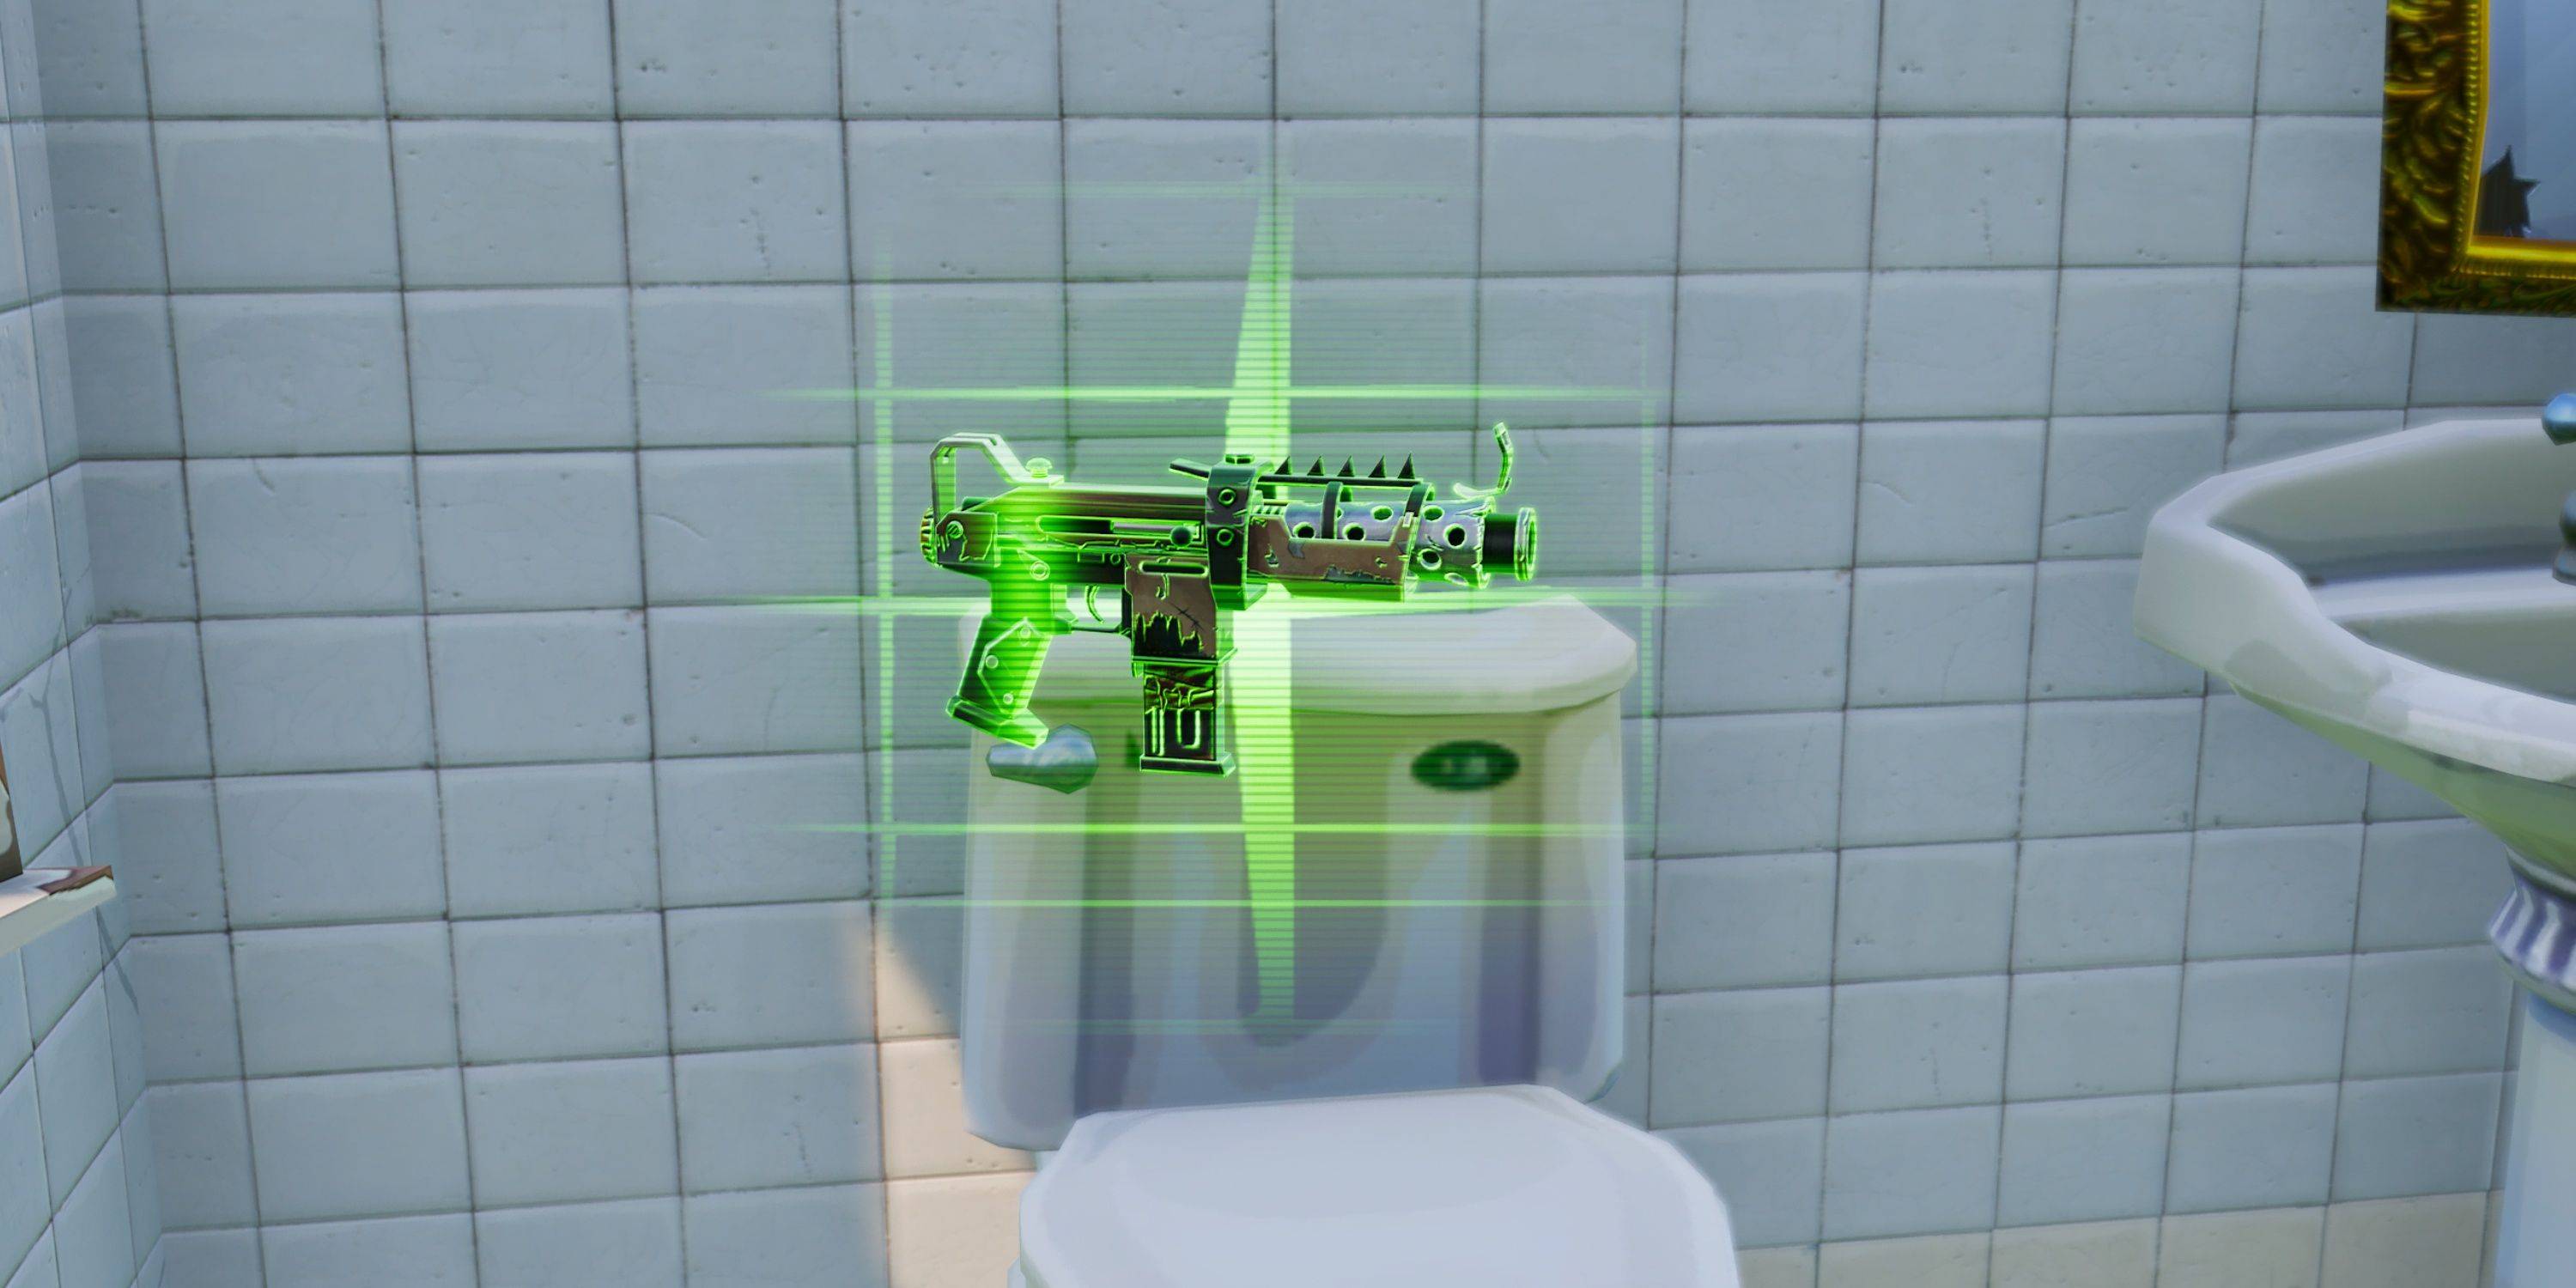 SMGs excel in close-range combat but lack the damage output of shotguns and the range of other weapons.
Suppressed Submachine Gun
| Rarity | Common | Uncommon | Rare | Epic |
|---|---|---|---|---|
| Damage | 17 | 18 | 19 | 23 |
| Magazine Size | 30 | 30 | 30 | 30 |
| Fire Rate | 9 | 9 | 9 | 9 |
| Reload Time | 2.2s | 2.1s | 2s | 1.9s |
| Structure Damage | 17 | 18 | 19 | 23 |
The Suppressed Submachine Gun's suppression and damage make it the most effective SMG. Damage falloff begins at 20 meters.
Tactical Submachine Gun
| Rarity | Uncommon | Rare | Epic |
|---|---|---|---|
| Damage | 16 | 17 | 18 |
| Magazine Size | 30 | 30 | 30 |
| Fire Rate | 10 | 10 | 10 |
| Reload Time | 2.4s | 2.3s | 2.2s |
| Structure Damage | 16 | 17 | 18 |
The Tactical Submachine Gun's inconsistent fire rate can hinder accuracy despite its manageable bloom.
Submachine Gun
| Rarity | Common | Uncommon | Rare |
|---|---|---|---|
| Damage | 14 | 15 | 16 |
| Magazine Size | 35 | 35 | 35 |
| Fire Rate | 15 | 15 | 15 |
| Reload Time | 2.2s | 2.1s | 2s |
| Structure Damage | 14 | 15 | 16 |
The Submachine Gun's high fire rate consumes ammunition quickly and impacts accuracy at longer ranges.
All Fortnite OG Sniper Rifles
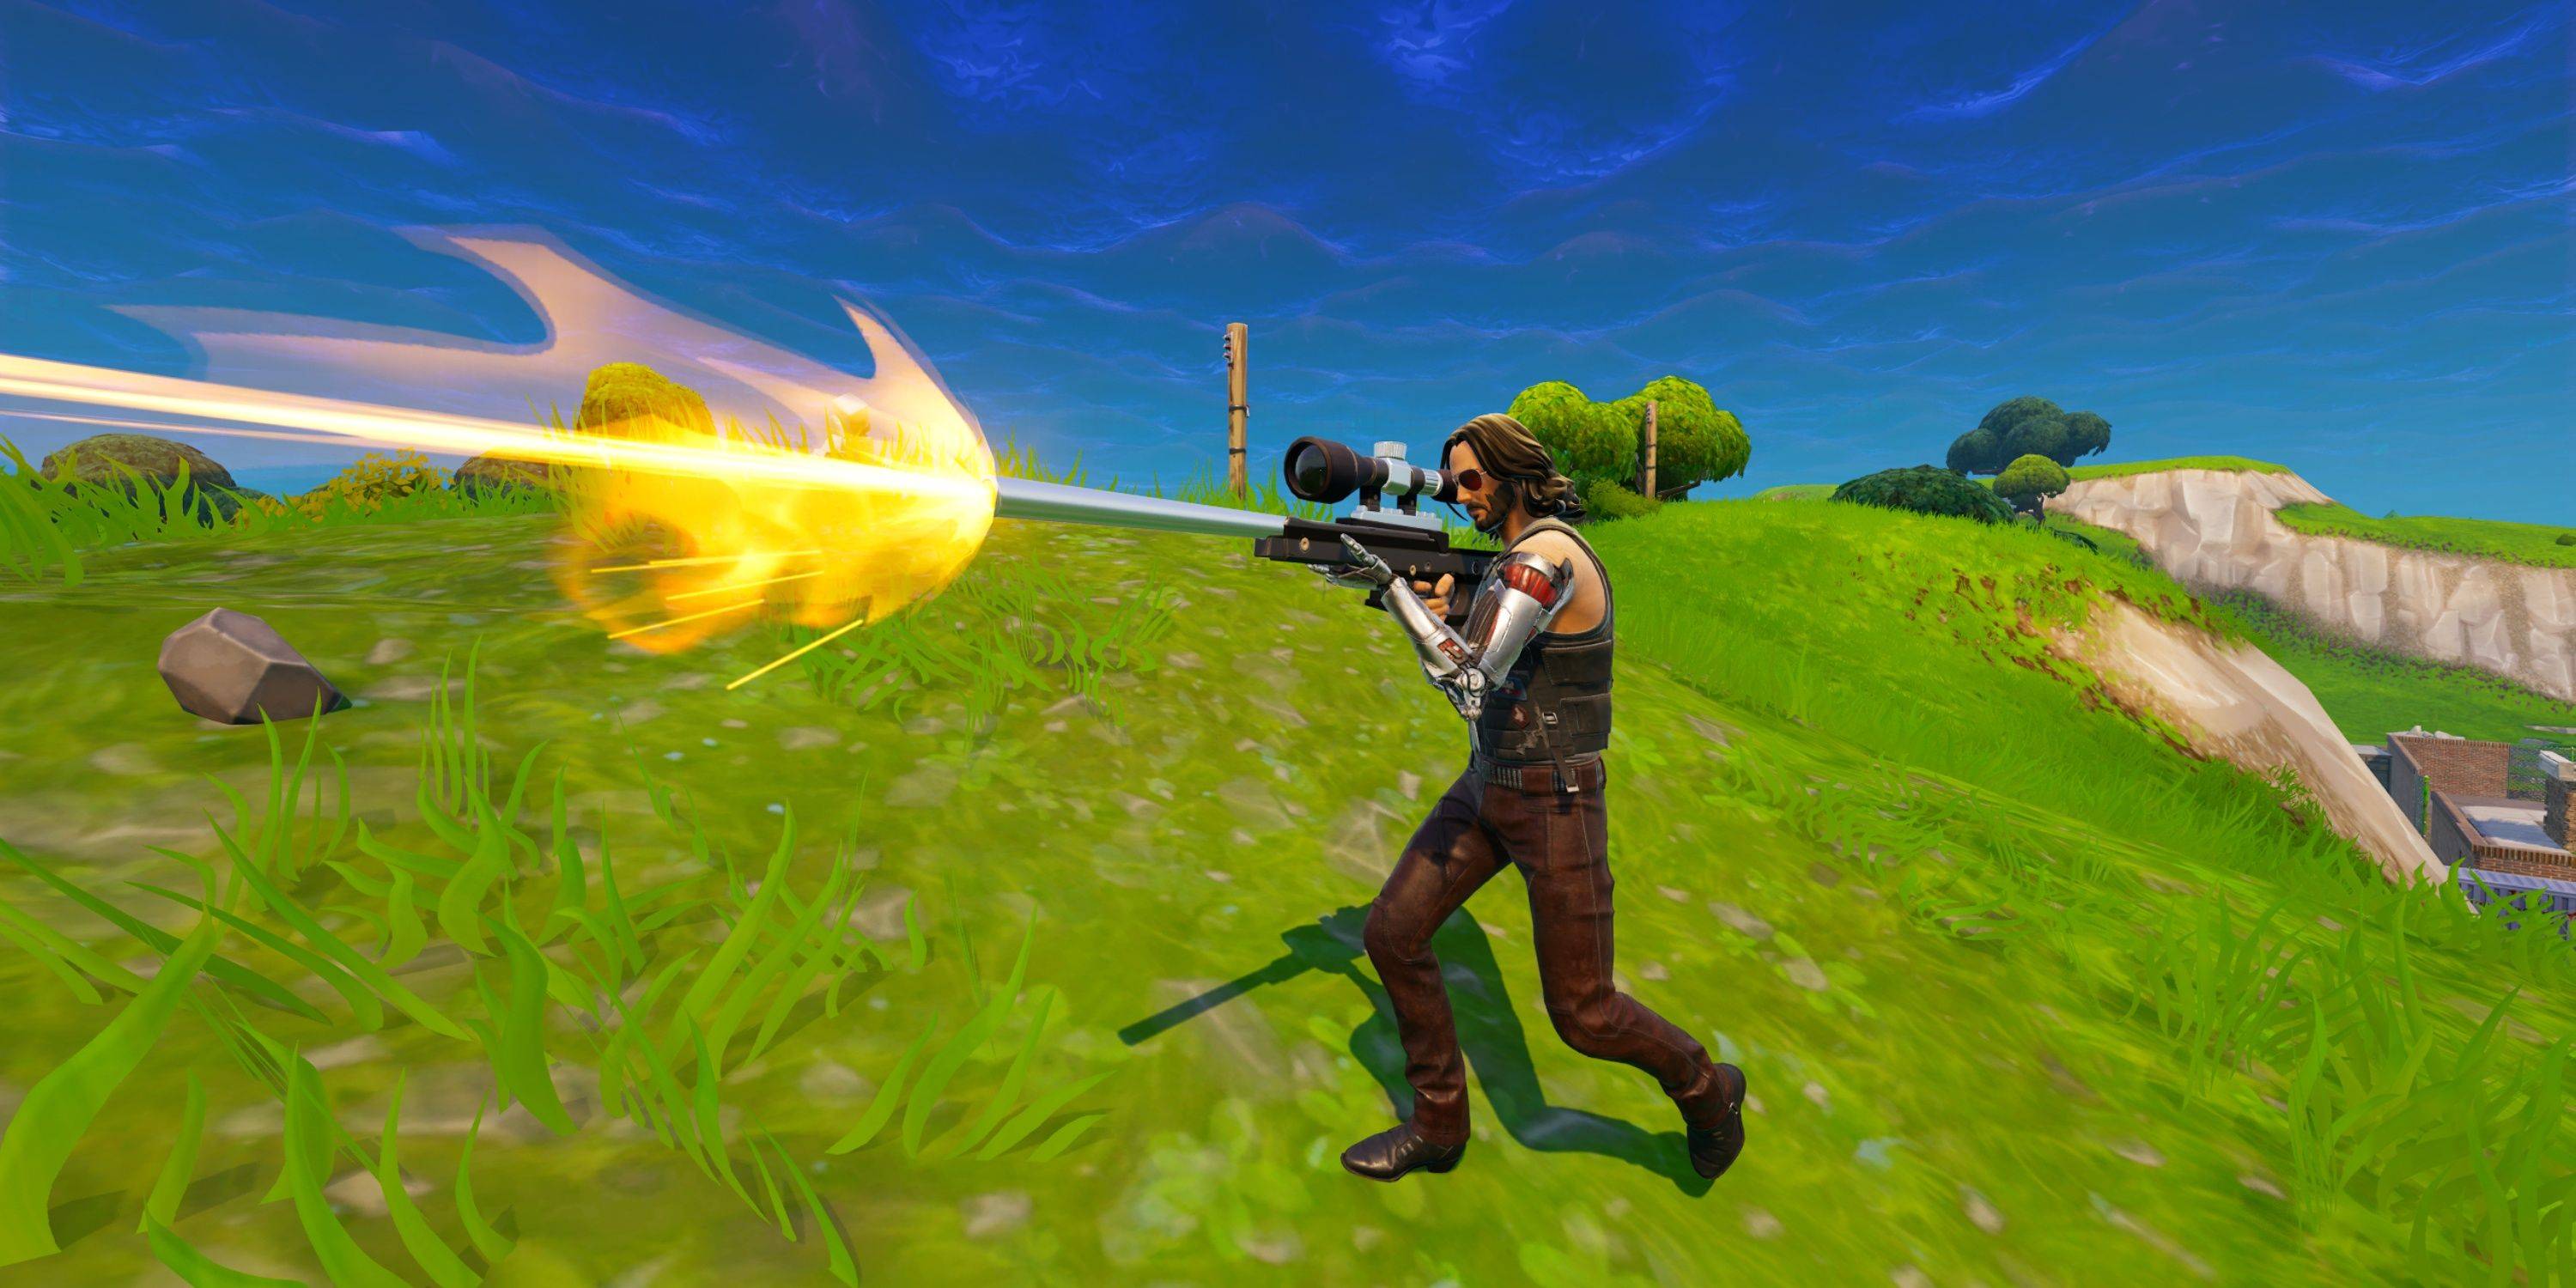 Sniper Rifles in Fortnite OG require precise aim for effective headshots.
Bolt-Action Sniper Rifle
| Rarity | Rare | Epic | Legendary |
|---|---|---|---|
| Damage | 105 | 110 | 116 |
| Magazine Size | 1 | 1 | 1 |
| Fire Rate | 0.3s | 0.3s | 0.3s |
| Reload Time | 3s | 2.9s | 2.7s |
| Structure Damage | 105 | 110 | 116 |
The Bolt-Action Sniper Rifle's high damage and 2.5x headshot multiplier make it incredibly powerful, though its single-shot magazine requires careful aiming.
Semi-Auto Sniper Rifle
| Rarity | Epic | Legendary |
|---|---|---|
| Damage | 63 | 66 |
| Magazine Size | 10 | 10 |
| Fire Rate | 1.2 | 1.2 |
| Reload Time | 2.5s | 2.3s |
| Structure Damage | 75 | 78 |
The Semi-Auto Sniper Rifle's faster fire rate and larger magazine allow for more opportunities, but its damage is lower than the Bolt-Action.
All Fortnite OG Explosives
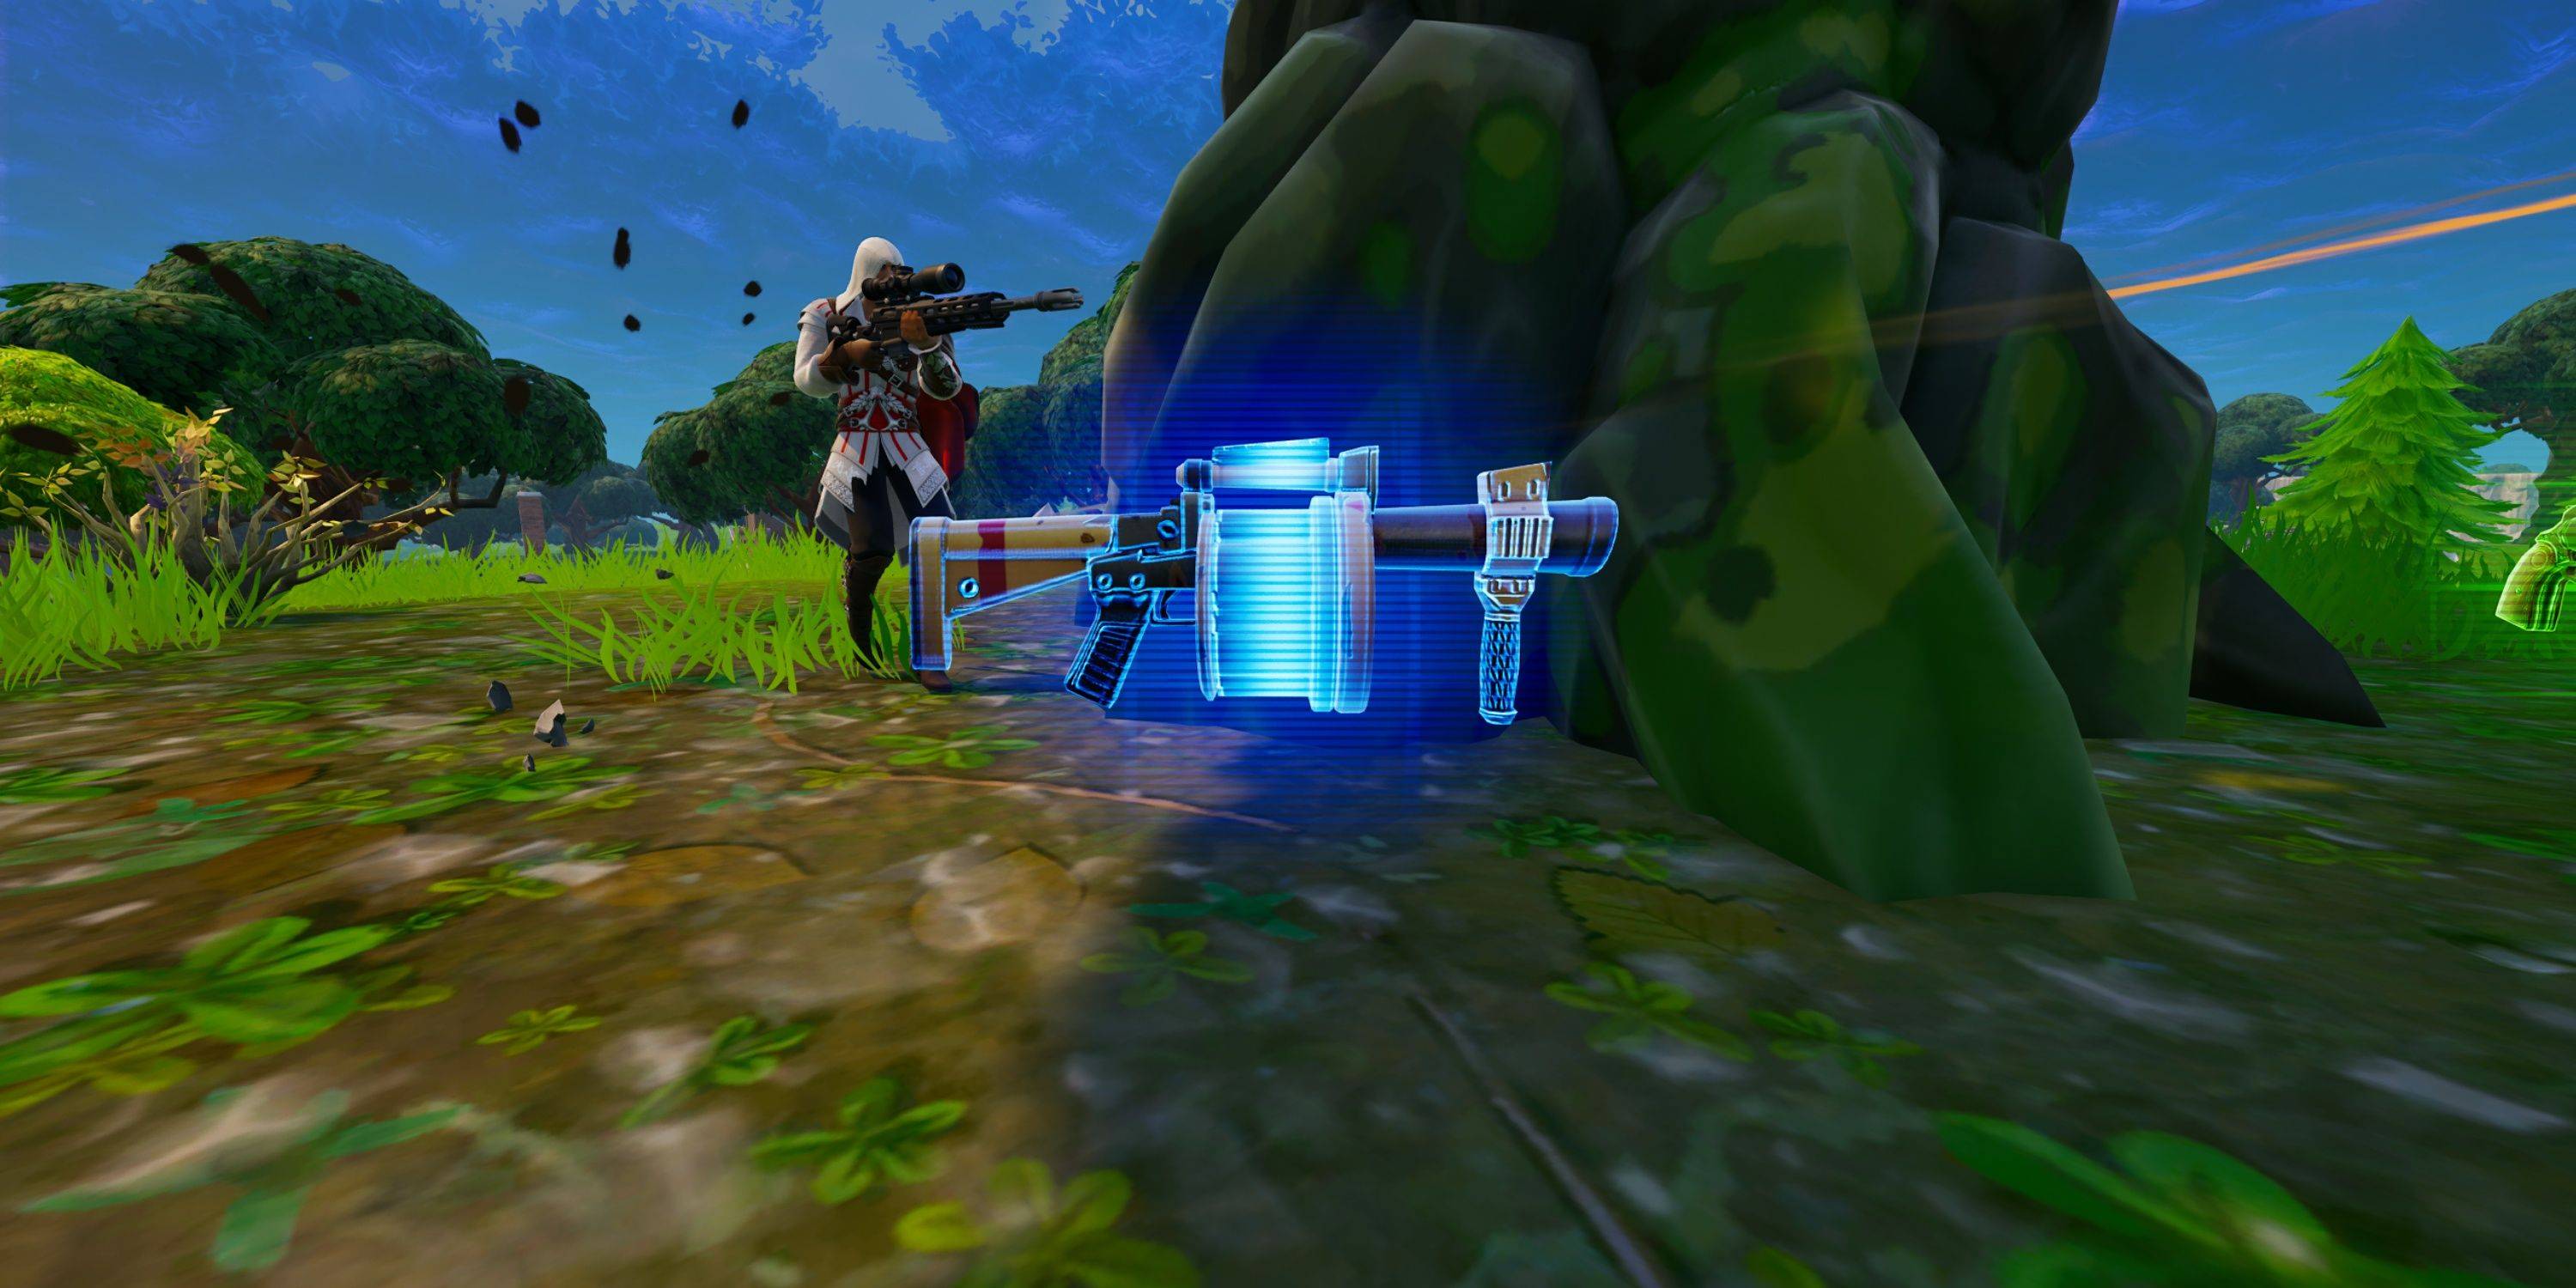 Explosives are crucial for destroying structures and eliminating opponents.
Rocket Launcher
| Rarity | Rare | Epic | Legendary |
|---|---|---|---|
| Damage | 100 | 115 | 130 |
| Magazine Size | 1 | 1 | 1 |
| Fire Rate | 0.75s | 0.75s | 0.75s |
| Reload Time | 3.60s | 3.06s | 2.52s |
| Structure Damage | 300 | 315 | 330 |
The Rocket Launcher's high damage and splash radius make it devastating, despite its slow fire rate.
Grenade Launcher
| Rarity | Rare | Epic | Legendary |
|---|---|---|---|
| Damage | 100 | 105 | 110 |
| Magazine Size | 6 | 6 | 6 |
| Fire Rate | 1 | 1 | 1 |
| Reload Time | 3s | 2.8s | 2.7s |
| Structure Damage | 200 | 210 | 220 |
The Grenade Launcher offers a wider area-of-effect attack, sacrificing some damage for increased chaos.
Grenade
| Damage | 100 |
|---|---|
| Structure Damage | 375 |
| Stack Size | 6 |
Grenades are effective for destroying structures and flushing out opponents.
All Fortnite OG Traps
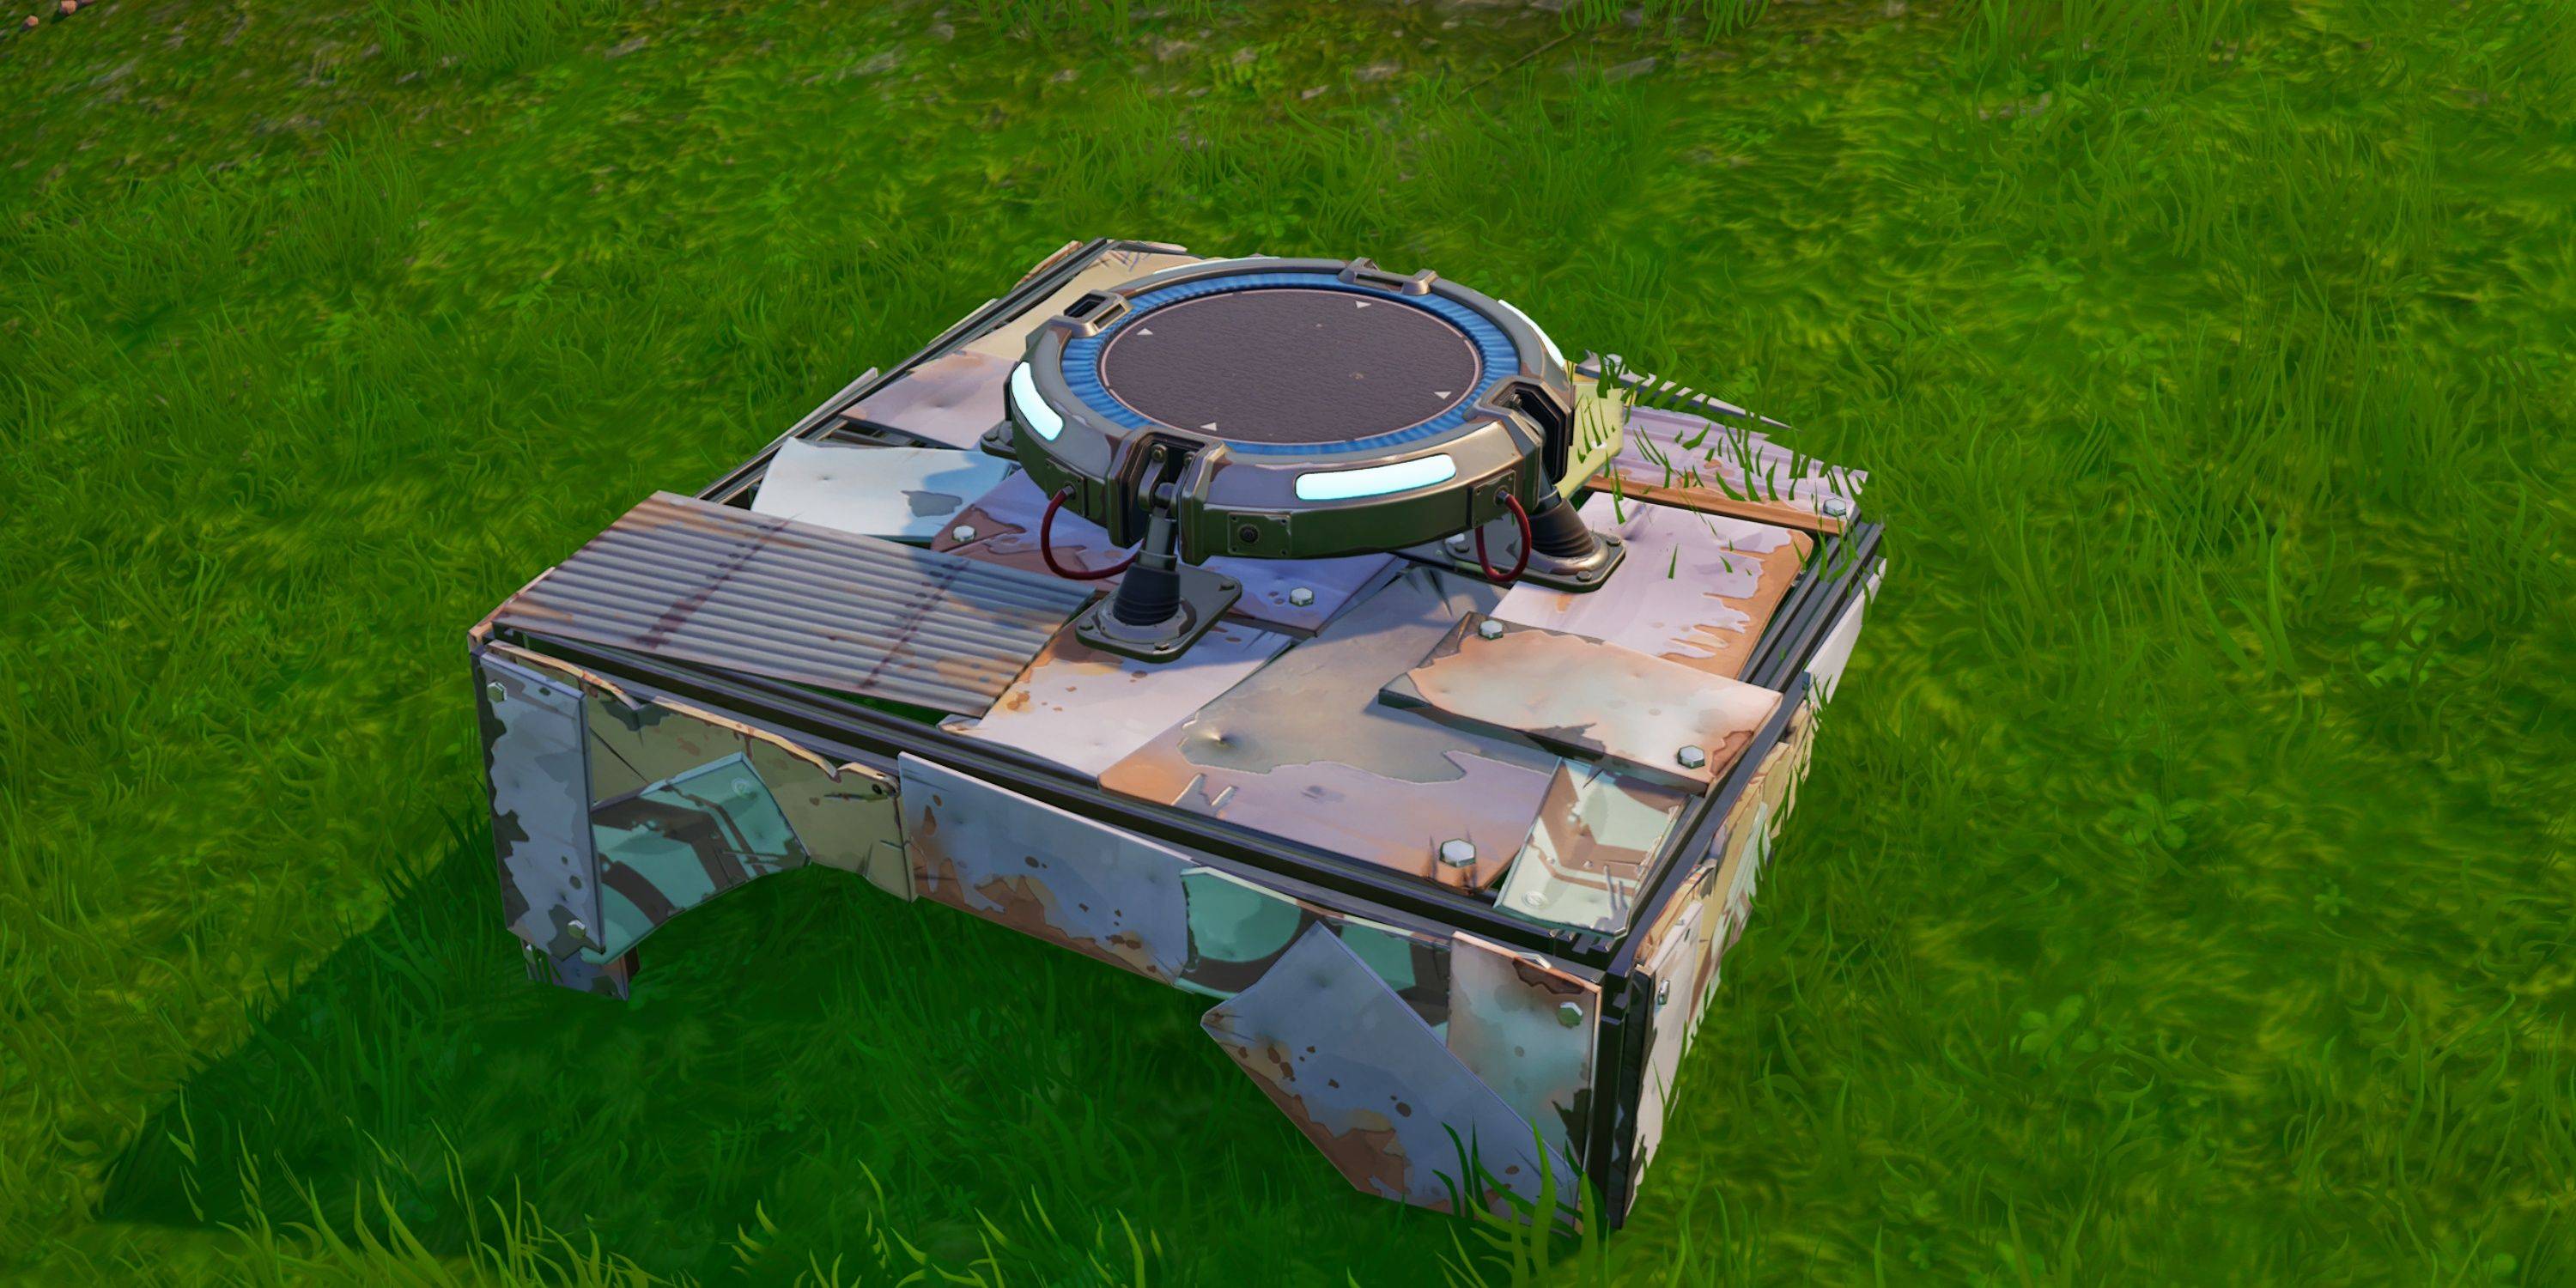 Traps add a strategic element to Fortnite OG.
Launch Pad
The Launch Pad provides crucial mobility, allowing players to escape danger or reach advantageous positions.
Ceiling Zapper
| Damage | 125 |
|---|---|
| Cooldown | 12 seconds |
The Ceiling Zapper instantly eliminates or downs players who pass underneath.
Wall Dynamo
| Damage | 125 |
|---|---|
| Cooldown | 12 seconds |
Similar to the Ceiling Zapper, but placed on walls.
Damage Trap
| Damage | 150 |
|---|---|
| Cooldown | 5 seconds |
The Damage Trap inflicts damage to players stepping on it.
Directional Jump Pad
The Directional Jump Pad allows players to safely jump long distances.
All Fortnite OG Consumables/Items
 Consumables are essential for healing and staying alive.
Bandage
| Health | +15 Health |
|---|---|
| Stack Size | 15 |
| Time to Use | 3.5 seconds |
Bandages provide quick healing, up to a maximum of 75 health.
Med Kit
| Health | +100 Health |
|---|---|
| Stack Size | 3 |
| Time to Use | 10 seconds |
Med Kits fully restore health but take longer to use.
Shield Potion
| Shields | +50 Shield |
|---|---|
| Stack Size | 3 |
| Time to Use | 5 seconds |
Shield Potions gradually restore shields.
Slurp Juice
| Health | +75 Health |
|---|---|
| Shield | +75 Shield |
| Stack Size | 2 |
| Time to Use | 2 seconds |
| Duration | 37.5 seconds |
Slurp Juice restores both health and shields.
Bush
| Health | +1 Health |
|---|---|
| Stack Size | 2 |
| Time to Use | 3 seconds |
The Bush provides temporary camouflage.
Port-a-Bunker
| Stack Size | 4 |
Port-a-Bunkers create instant cover.