Quick Navigation
In Dynasty Warriors: Origins, you'll primarily guide the Wanderer through his mission to restore peace across the realm. While this delivers significant narrative choices, you'll frequently be joined by battle companions regardless of your decisions.
These allies will fight alongside you across the battlefield, though you occasionally gain temporary control over them. Companions demonstrate exceptional combat prowess—often surpassing even upgraded versions of the Wanderer. Here's the essential guide to swapping between characters.
Changing Characters in Dynasty Warriors: Origins
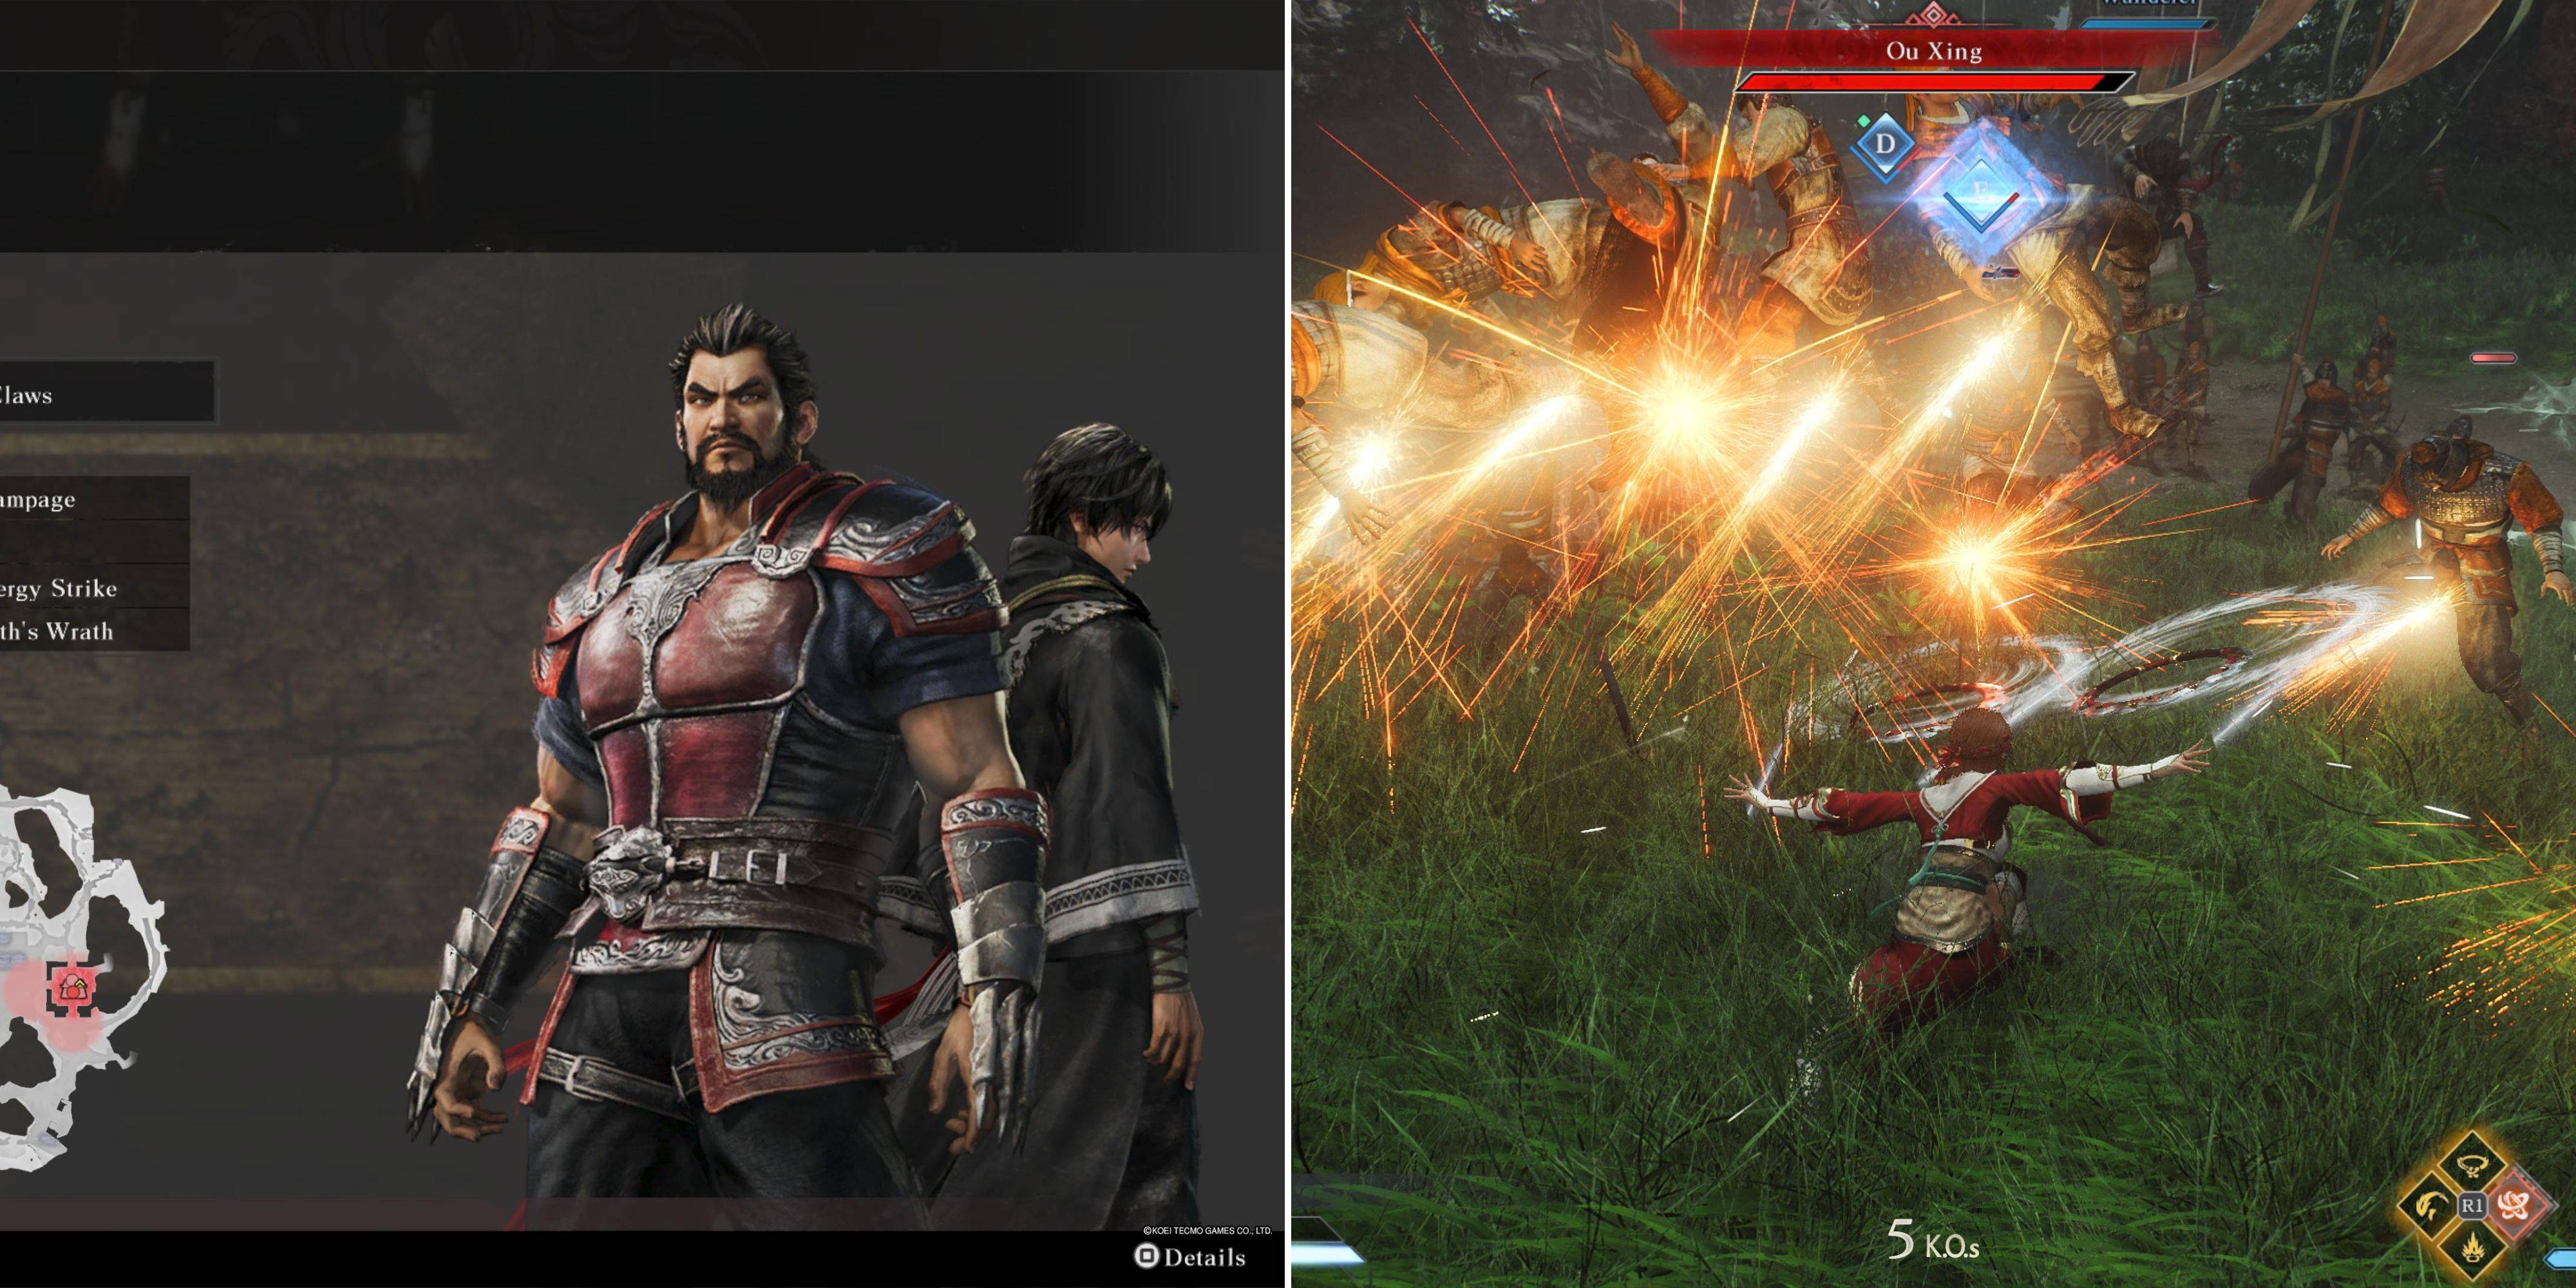
Character switching becomes available only during missions where companions accompany you. In the pre-battle war council, your ally appears as the final menu option—though you may choose to proceed solo without switching. Once combat begins, monitor your companion's health bar positioned above yours in the bottom-right corner.
Beneath their health gauge lies a blue resource meter similar to your Musou gauge. This meter charges through combat actions, with significant boosts from:
- Successful parries
- Precise dodges
- Officer takedowns
- Weapon Art executions
Nearly all combat maneuvers contribute to meter generation, albeit at slower rates.
When the blue meter reaches maximum capacity, a "Change Character" prompt appears adjacent to it. Press and hold the designated button (View on Xbox, C on PC, or Touchpad on PlayStation) for approximately one second to initiate the swap.
Controlling Allied Warriors
Strategic timing is crucial—reserve character switches for intense encounters, as companion control lasts roughly sixty seconds. The blue meter gradually diminishes during this period, indicating remaining control time. Your temporary character arrives battle-ready with maxed Bravery and devastating combat arts.
The character transition itself delivers a powerful area attack—position yourself accordingly before switching. Your borrowed warrior also benefits from a full Musou gauge and health bar, enabling immediate activation of their signature devastating techniques.